العربية
 English
 français
 Deutsch
 русский
 italiano
 español
 português
 Nederlands
 Türkçe
 Polski
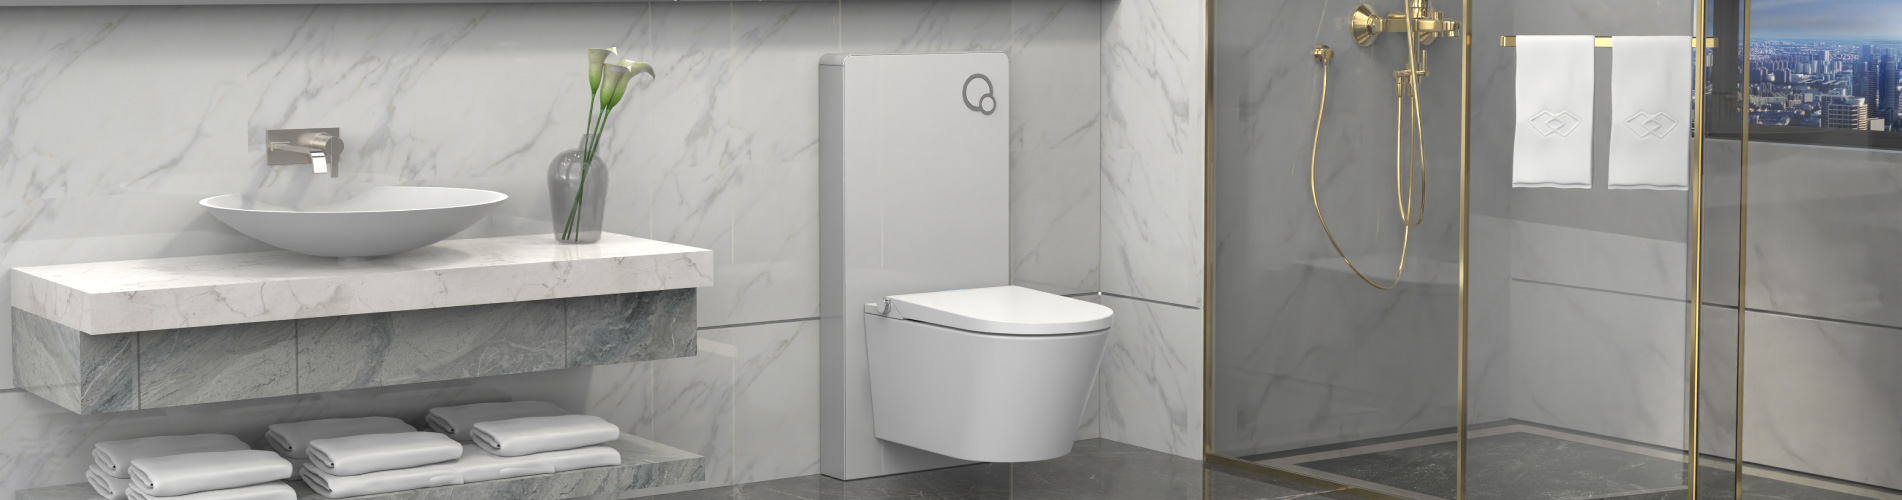
How to Remove a Smart Toilet Seat: Complete Step‑by‑Step Guide
Smart toilet seats bring comfort and hygiene to modern bathrooms, yet many users feel confused when they need to take the unit off for deep cleaning, maintenance, relocation or product replacement. Unlike ordinary toilet seats, smart bidet seats connect to water supply and power, so correct removal procedures matter for personal safety and hardware protection.
Oceanwell smart toilet seats adopt user‑friendly quick‑release mounting structure, widely used for OEM & ODM projects for residential, hotel and commercial bathroom projects. Follow this guide to safely detach your smart toilet seat without damaging ceramic toilet or internal components.
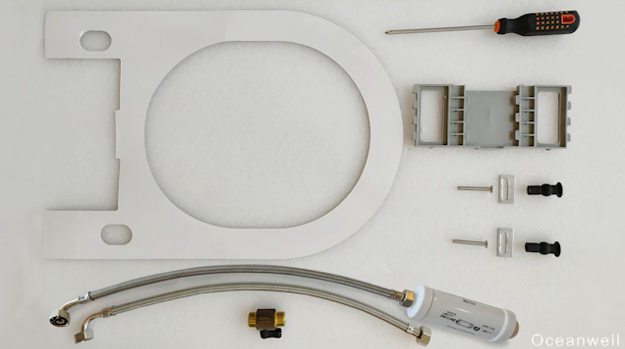
Pre‑Removal Safety Preparation
Before touching any parts, complete these safety steps first:
1.Unplug the power cord from electrical outlet. For hard‑wired models, turn off the corresponding circuit breaker to avoid electric shock risks.
2.Shut off the toilet water supply shut‑off valve. Flush the toilet to release residual water pressure inside pipes.
3.Prepare towels or small basin to catch dripping residual water from hoses.
4.Have screwdriver and adjustable wrench ready for mounting plate disassembly.
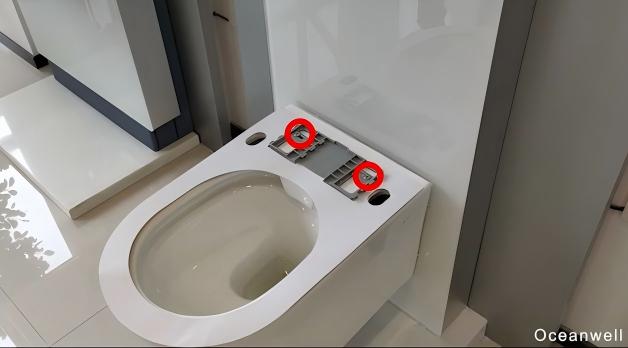
Step‑by‑Step Removal for Oceanwell Quick‑Release Smart Toilet Seat
Most Oceanwell smart bidet seats feature push‑button quick‑release mechanism, no complicated tools needed to pull off the main unit.
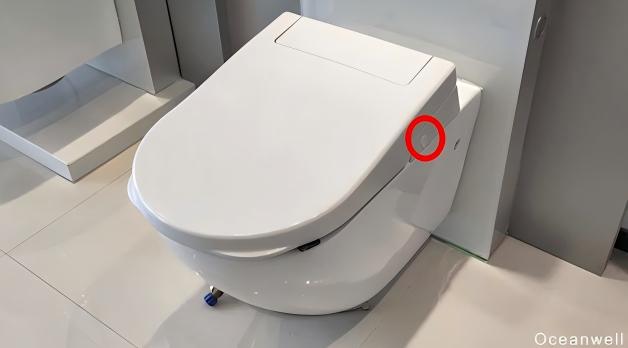
Step 1: Locate quick‑release buttons
Find one or two release buttons on the rear side / bottom of smart seat base, near hinge area.
Step 2: Unlock and slide out main unit
Press the release button(s) firmly, keep pressed and slide the whole smart seat main body forward. You will hear an unlock click sound, then separate main unit from metal mounting plate completely.
|
Note: Do not yank hard without pressing release buttons, excessive force may break plastic housing. |
Step 3: Disconnect water supply hose
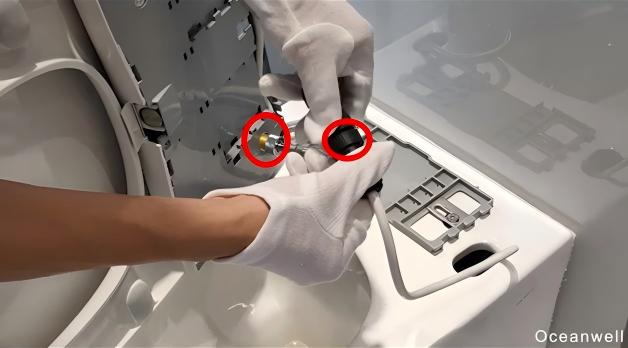
Now the main unit is detached, disconnect the water inlet hose from smart seat inlet port. For quick‑connect fittings, press down the locking ring before pulling out the hose. Cover hose end to prevent water spillage.
Step 4 (Optional): Remove mounting plate from toilet bowl
If you need full disassembly (replace plate, deep clean ceramic surface):
Use screwdriver to loosen two mounting bolts securing the base plate to toilet ceramic bowl. Take away bolts, washers and mounting plate. Keep all hardware well stored for later reinstallation.
Step 5: Clean ceramic mounting surface
Wipe off limescale, dirt and old gasket residue on toilet mounting holes. Clean flat surface ensures stable installation when you put seat back later.
Common Troubleshooting Tips
1.Seat cannot slide out after pressing release buttons: Double‑check you fully press release buttons; check if debris blocks slide rail, clean dirt on mounting plate track.
2.Stuck rusted mounting bolts: Do not apply violent force which may crack ceramic bowl. Apply penetrating oil and wait for 10‑15 minutes before loosening bolts again.
3.Water drips after hose disconnection: There is residual water inside internal pipeline, place towels underneath to collect water.
Reinstall Reminder
When reinstalling Oceanwell smart toilet seat: Align main unit with mounting plate track, push backward until you hear locking click sound. Re‑connect water hose, restore water supply and power, test all functions before regular use.
For bulk buyers, hotel contractors and OEM partners: Oceanwell provides customizable smart toilet seat solutions with quick‑release structure, supporting private label and project‑oriented modification.


 No. 33 Shishan North Road, Dongfu Street, Dongfu Town, Haicang Dist., Xiamen,Fujian, China
 +86 13605038522
 +86-592-5685085 ext.8010
 sales08@oceanwellxm.com
 +86 13605038522
 شبكة IPv6 دعم